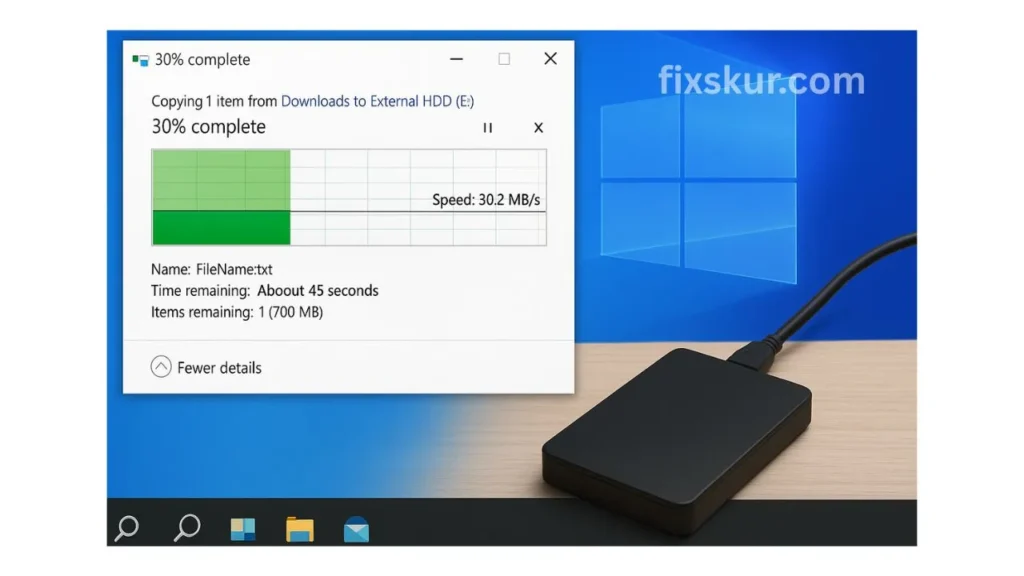
Hey friends, This is Faizan Ali speaking! Did you know, when you are in the creative zone, it gives a whole different level of joy. Suppose you just finished a big video project, the files are ready, all you have to do is back them up to your trusted external hard drive. You dragged and dropped it … and then the wait begins. And wait. And the speed becomes so slow as if you’re stuck in a traffic jam.
If this scenario seems relatable, you’re at the right place. I have also felt this pain quite a few times — staring at the progress bar as if it’s running backwards, even when you know that the drive’s space isn’t full. For digital creators, this is a common problem, but the good news is that it can be easily fixed in many cases — without any computer science degree.
Today, I’ll share the exact steps that I use when the file transfer slows down. We will get straight to the point with practical tips that save me a lot of time.
Simple Checks to Boost File Transfer Speed
We should first check the simple things. Before getting to the depths, let’s rule out all common problems. You can’t even imagine how many times the solution is right in front of us!
Is It Plugged in the Right Port? (USB 3.0 vs 2.0)
Think of USB ports as highways. USB 2.0 is like a single-lane country road, and USB 3.0 (or above) is like a multi-lane superhighway. If you want the fastest speed, you have to be on the superhighway.
How to Check:
- Look at the plastic tab inside your computer’s USB port and also on the end of the cable.
- If it’s blue, it’s usually USB 3.0 — which is the best.
- If it’s black or white, it’s most likely the slow USB 2.0.
- For the best performance, always plug a USB 3.0 drive into a USB 3.0 port.
How’s the Cable?
If the cable has been damaged or is of low quality, then the speed can be very slow. Once, I wasted an hour trying to find the reason for a slow drive, and then later found out that the cable had slightly bent in the backpack. The speed returned to normal as soon as I installed the new, high-quality cable.
Have You Tried Turning It On and Off?
This tip is cliché, but it works! Rebooting your computer once can clear temporary glitches and background processes that are consuming resources and slowing down file transfers.
Digging Deeper: Drive Health & Settings

Think of your hard drive as an old, beloved road. Over time, small digital potholes (“bad sectors“, as tech folks call them) form that slow down data traffic. Sounds a bit scary, but the good news is that there’s a small repair crew inside your computer that finds and fixes these problems.
If you’re using Windows, follow these steps:
- Open File Explorer, find your external drive in the list, right-click on it. Select “Properties” from the menu.
- In the Properties window, click on the “Tools” tab. There will be an “Error checking” section—press the “Check” button.
- Now let your PC do its job! It will scan the drive, and if it finds any problem, it will ask you if you want it fixed. Simply follow its instructions, and the job is done.
On macOS:
- Open Disk Utility from Spotlight search.
- Select your external drive from the list.
- Click on First Aid at the top → then press Run to check for drive errors.
Optimize Drive Policy on Windows
Here’s a great Windows trick: change the policy of the drive. By default, Windows keeps the drive on Quick removal mode. The advantage of this is that you can remove the hardware without “Safely Removing Hardware.” You can drive out using its icon. But in this mode, write caching is off, which can slow down data transfer.
If you want to increase the speed, then set it to Better performance mode:
- Right-click the Start button → Select Device Manager.
- Expand the Disk drives section.
- Right-click on your drive → Select Properties.
- Go to the Policies tab → Select Better performance → Press OK.
⚠️ Important: If you enable this setting, always eject the drive from the “Safely Remove Hardware” icon. Otherwise, data may get corrupted because the system may still be writing data in the background.
Choose the Right File System
And one more tip: choose the right file system. External drives usually come in exFAT format, so they work on both Windows and Mac. But if you use it on only one type of computer, formatting on its native file system can improve performance.
File System Recommendations:
- For Windows only: use NTFS.
- For macOS only: use APFS.
- For cross-platform: Keep it exFAT.
⚠️ Be aware: Formatting will erase all data, so be sure to backup first.
Computer-Related Issues Affecting Transfer Speed
Sometimes, the problem is not with the external drive, but with the computer to which it is connected.
Update Your USB Drivers
Old drivers can be a reason for slow speeds. Run a Windows Update or download it from the manufacturer’s website. Download the latest chipset/USB drivers.
Check Background Tasks
Antivirus scan, Dropbox/Google Drive syncing- all these consume a lot of resources.
How to Check:
- Windows: Check the “Disk” column in Task Manager (Ctrl + Shift + Esc).
- Mac: Check the “Disk” tab in Activity Monitor.
Final Thoughts on slow external hard drive transfer
I understand how irritating it is when technology doesn’t cooperate, especially when you’re near a deadline. But now you have a clear idea of how to solve problems step-by-step. Have patience, and your files will be transferred as quickly as possible – without unnecessary stress.
Which are your biggest tech frustrations? Comment and let me know, and perhaps I’ll cover that topic next time.
We also have other posts on these topics: