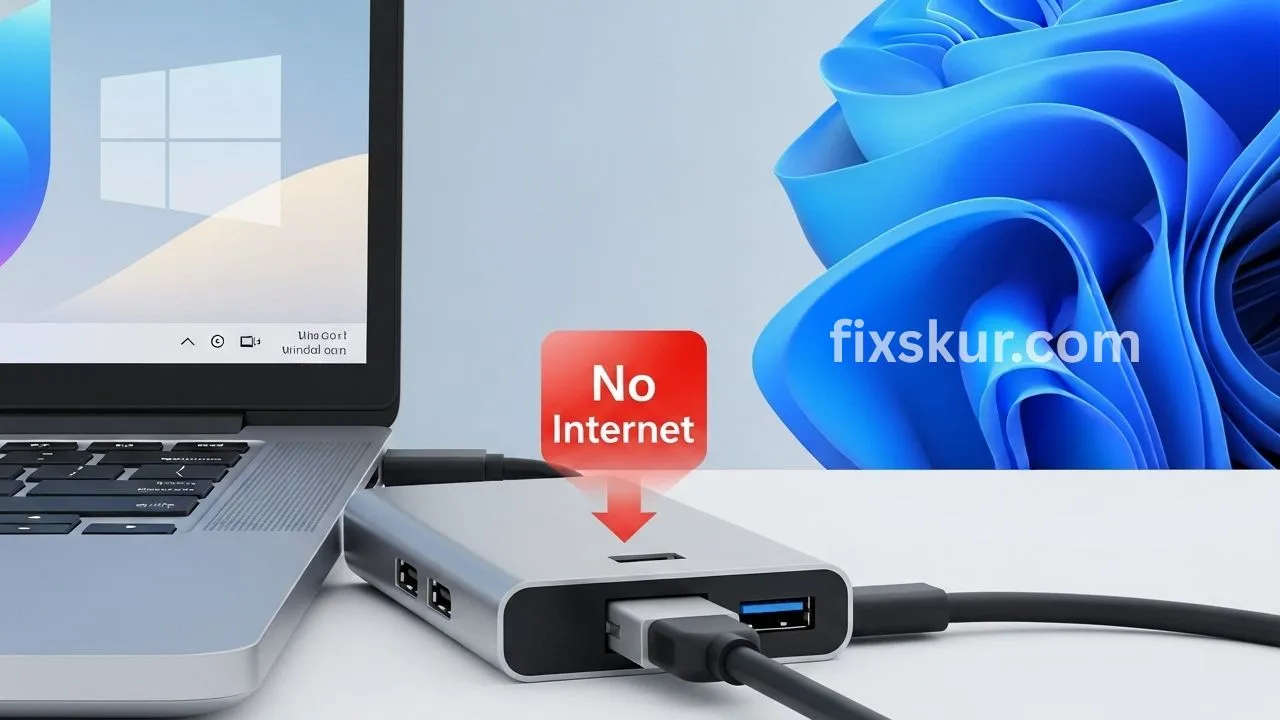
Hey! I am Faizan Ali, and if you are reading this, chances are you’re quite troubled because your trusty USB-C hub’s Ethernet port has ghosted you after the recent Windows 11 update. Trust me, I can understand your situation. I’ve been there — just staring blankly at the “No Internet Access” icon, wondering where my wired connection suddenly disappeared.
Sometimes, Windows 11 updates seem like they’re playing hide-and-seek with our important peripherals. But don’t panic! This usually doesn’t mean that the hub is completely broken or Windows is permanently damaged.
In most cases, it is usually a software hiccup, a minor driver issue, or a simple setting that has been reset. We’ll check this step-by-step together – just like I did with my setup when it gave me the silent treatment. Our aim is to fix USB-C hub Ethernet Windows 11 problems and get you back online.The same stable, fast wired connection that you rely on.
The Mystery of the Missing Ethernet: Why does this happen?
So now the question is why doesn’t your USB-C hub’s Ethernet work after the Windows 11 update? This is also something I have thought a lot about. Windows updates are supposed to make things better, right? But sometimes they just accidentally shuffle stuff that really ought to stay put.
What’s usually going on? Could be:
- Driver Conflicts: Maybe your Ethernet driver isn’t playing nice with the new update, or Windows just shoved in a generic, pretty useless one.
- Network Adapter Settings Reset: Updates can totally reset your network settings, leaving your Ethernet port disabled or, shoot, just plain confused.
- Power Management Issues: Windows 11 might be getting too aggressive with power saving, literally shutting off your USB-C hub’s Ethernet.
- Corrupted System Files: It’s a bit rare, seriously, but occasionally, an update just mangles some network-related system files.
Whatever the reason, the good news is we’ve got a clear game plan to troubleshoot and get these problems sorted out.
Let’s get your internet connection flowing smoothly again!
Firstly: Basic Checks (Do not skip these!)
Before diving into the technical details, let’s cover the basics.
You would be surprised to know that how often a simple solution turns out to be the right one! I always start my troubleshooting journey from here.
1. Restart everything (yes, seriously!)
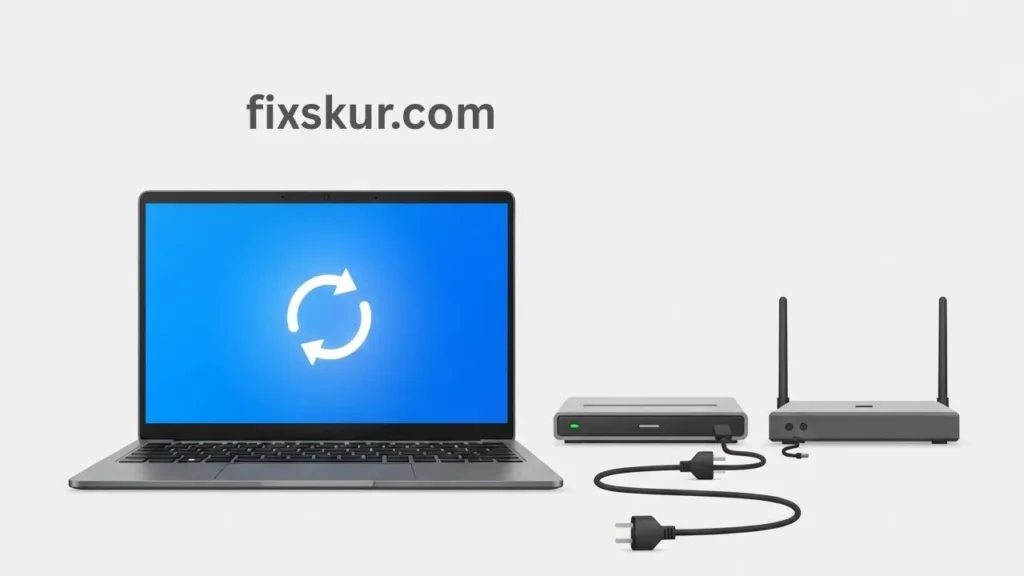
This is the golden rule of tech support. Honestly, those pesky glitches? A simple restart of your PC and internet gear can often clear them right up.
- Restart your PC: Hit Start > Power > Restart.
- Modem/router power cycle: Unplug for 30s, plug back in. Let it boot up fully.
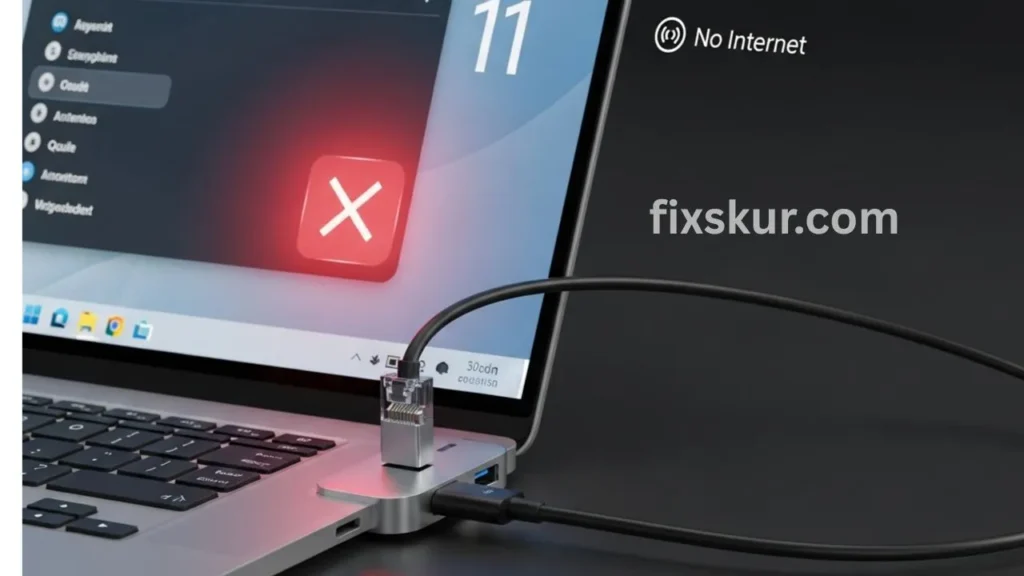
2. Check cables and connections
A loose cable can silently kill the internet. All connections should be tight.
- USB-C hub to PC: Is the USB-C cable correctly tightened in both the laptop/PC and the hub? Try unplugging and plugging it back in once.
- Ethernet cable: Is it properly connected from the router/modem to the Ethernet port in the USB-C hub.Is the cable properly fitted? Confirm by giving a firm push at both ends.
Try a different port: Got multiple USB-C ports? Just give another one a shot. Sometimes, a single port can be the finicky one.
Test elsewhere (if possible): Got another laptop or a friend’s device? Try plugging the hub and Ethernet cable into that. If the Ethernet works, then your Windows 11 machine is truly the culprit.
3. Check the hub’s other ports
So, are your USB-C hub’s other bits (like for a mouse, or HDMI) still playing nice, you know? If so, honestly, exhale. Your hub’s probably fine, which means the real headache’s squarely with that Ethernet port or Windows 11’s shenanigans.
But if absolutely nothing works? Then, man, the whole darn hub could be kaput, or it’s just a wonky link to your PC. If simple checks aren’t doing the job, let’s now look into it with more detail.
Here, we’ll focus on driver issues, network settings, and specific fixes for Windows 11. That is, we’ll understand step by step how to fix USB-C hub Ethernet after the update.
Deep Dive: How to Fix USB-C Hub Ethernet Windows 11 Problems
Okay, if the simple checks didn’t do the trick, it’s time to roll up our sleeves. We’ll focus on driver issues, network settings, and other Windows 11 specific fixes. This is where we really concentrate on how to fix USB-C Hub Ethernet Windows 11 post-update.
1. Check and update your Network Adapter Drivers
This is usually the root of the problem in most cases. Windows 11 might have installed a generic driver or your old driver may have become corrupt.
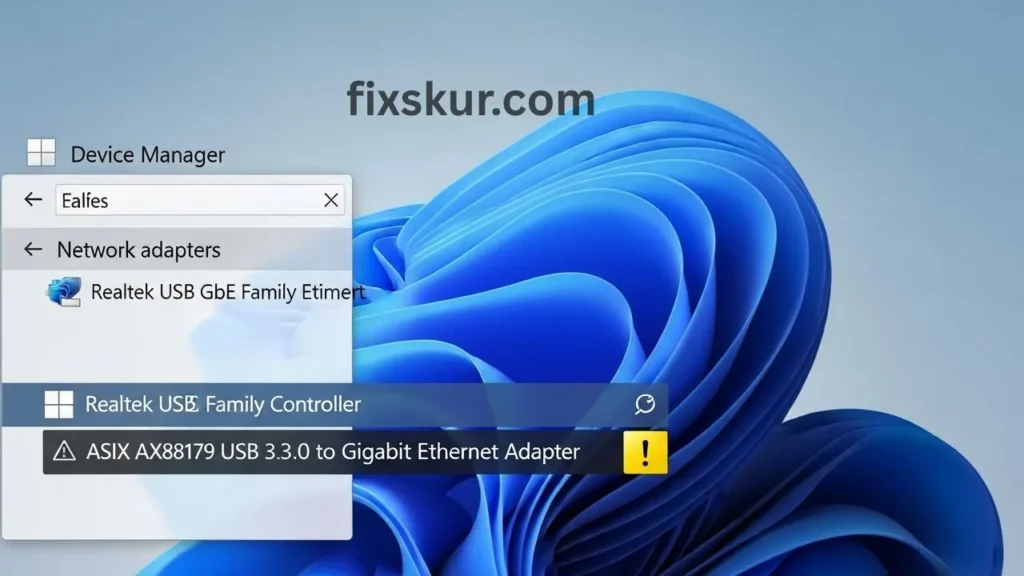
- Right-click on the Start button and open “Device Manager”.
- Expand “Network adapters”.
- Find your USB-C hub’s Ethernet adapter. It can be named as “Realtek USB GbE Family Controller,” “ASIX AX88179 USB 3.0 to Gigabit Ethernet Adapter,” or something similar. If the driver is missing then “Unknown device” or a yellow exclamation mark may show under “Other devices”.
Once you’ve found it:
- Right-click > “Update driver” > “Search automatically for drivers.” If Windows installed a new driver. Do a restart and then check.
- If it doesn’t work, go to “Update driver” > “Browse my computer for drivers” > “Let me pick from a list…” and try an older driver from there.
Manual Driver Installation (Pro Tip from Faizan Ali 😅):
- Identify the brand and model of your USB-C hub (Anker, Belkin, UGREEN, etc.).
- Go to the manufacturer’s official website.
- Open the “Support” or “Downloads” section.
- Download Windows 11 compatible Ethernet drivers for your model.
- Uninstall your adapter in Device Manager (tick “Delete driver software” if the option appears).
- Restart your PC (Windows will try to install a generic driver itself).
- Run the driver installer from the manufacturer.
- Restart again and check.
2. Check Network Adapter Settings
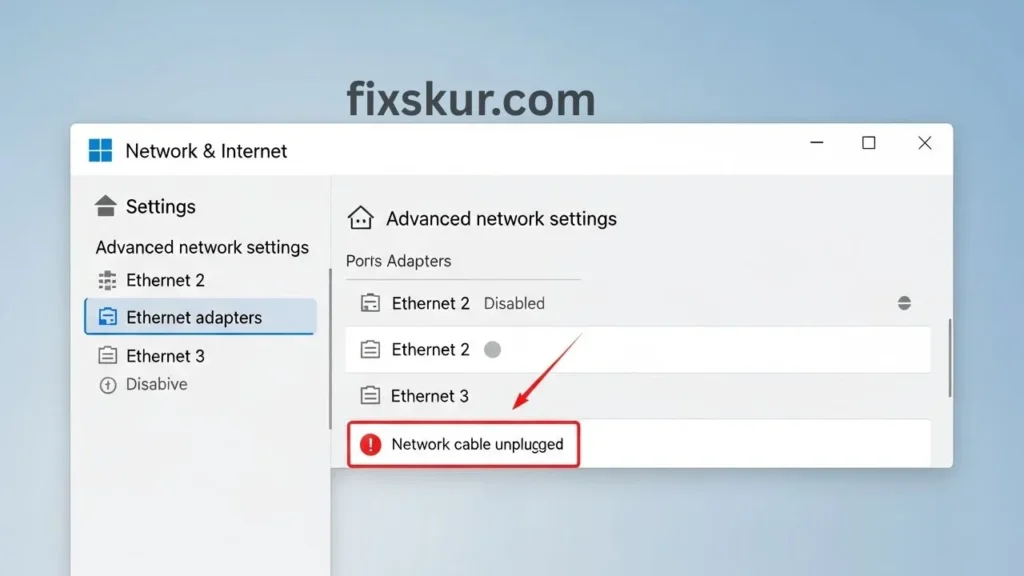
Sometimes the adapter is present but is disabled or incorrectly configured.
- Go to Settings > Network & internet > Advanced network settings.
- Click on “More network adapter options”.
- In the list, find your EthernetFind the Ethernet adapter (“Ethernet 2,” “Ethernet 3,” etc.).
- If it says “Disabled,” right-click > “Enable.”
- If it says “Network cable unplugged,” the problem could be with the cable, hub, or driver.
3. Power Management settings for USB Devices
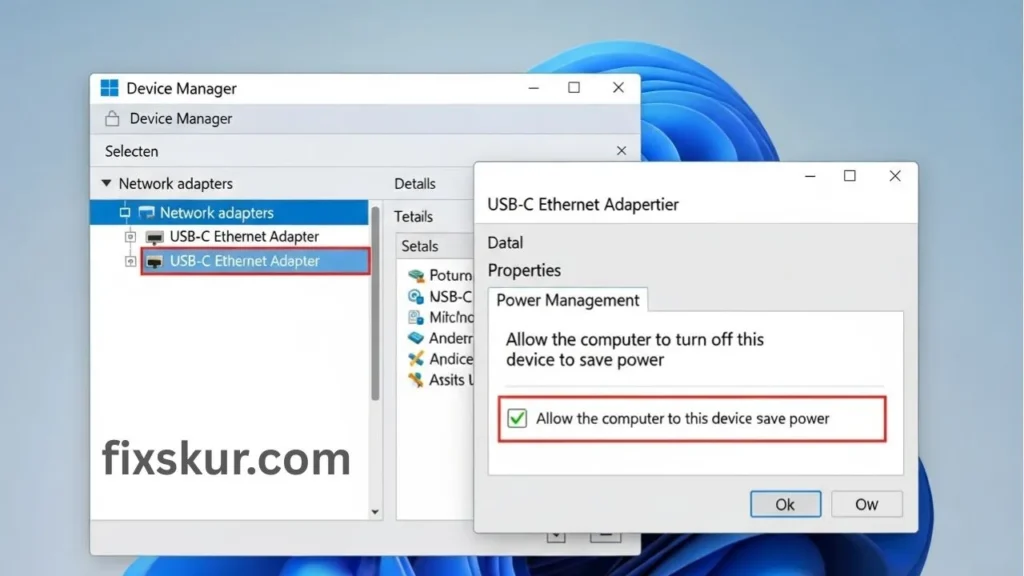
Windows 11 sometimes aggressively saves power and turns off your Ethernet port.
- Go to Device Manager > Expand “Network adapters”.
- Right-click on USB-C Ethernet adapter > “Properties.”
- Go to the “Power Management” tab.
- Uncheck “Allow the computer to turn off this device to save power.”
- Click OK > Restart.
Now, go to the “Universal Serial Bus controllers” section:
- Right-click on each “USB Root Hub” > “Properties” > “Power Management.”
- Uncheck the power saving option there as well.
- Repeat for all hubs > Restart.
4. Reset Network Settings
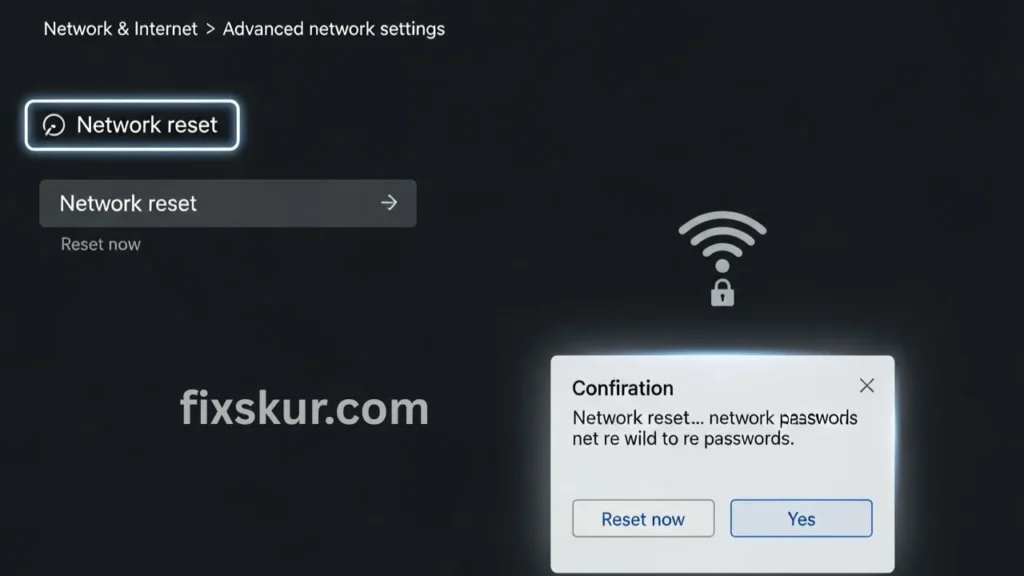
If everything has become complicated, resetting the network can be very helpful. It reinstalls all adapters and brings the settings back to their defaults.
- Settings > Network & internet > AdvancedScroll and click on “Network reset”.
- “Reset now” > “Yes”.
- The PC will restart, then you will need to re-enter your Wi-Fi passwords.
5. Try System Restore Point.
It’s a last resort, but if a restore point was created before the update, you can bring the system back to that state.
- Type “Create a restore point” in the Windows search bar.
- Click on “System Restore…”.
- Choose a restore point before the update and follow the steps.
(Trust me, I’ve learned that we should always create a restore point before major updates 😅).
6. Check Windows Updates (yes, it’s a bit ironic 😆)
Sometimes, the update that causes the problem is also fixed in the next update.
- Settings > Windows Update.
- Check for updates and install the latest ones.
What if Your USB-C Hub Ethernet is Still Not Working?
Okay, if you’ve actually gone through all that and your USB-C hub’s Ethernet still isn’t playing ball after that Windows 11 update, well, don’t throw in the towel just yet! We’ve got a few more tricks up our sleeve, you know?
Got another USB-C hub? Seriously, give it a shot. That’ll instantly tell you if it’s the hub giving you grief or if your PC’s just being a pain.
Pop open Event Viewer (just search for it!). Under ‘Windows Logs’ > ‘System’ or ‘Application,’ any odd errors tied to your network adapter or USB gadgets around when the trouble started? Good for you advanced folks.
Hit up your hub’s manufacturer, too. They might just have specific troubleshooting steps or a firmware update for your model that zaps Windows 11 compatibility issues.[4]
My Personal Nightmare (and a little pep talk)
Gosh, I totally remember a few months back, after a chunky Windows 11 feature update, my Anker USB-C hub’s Ethernet just flat-out refused to connect. I mean, it just wouldn’t budge.
I tried everything – restarting my PC, changing cables, getting a bit angry (yes, there was some drama as well 😅). The issue turned out to be driver conflict in the end. I had to manually download and install the latest driver from Realtek’s website, I couldn’t rely on Windows Update.
When it finally worked and I got a stable, low-latency connection back, it felt like a small victory. It was a relief for both my online work and gaming. So don’t get discouraged! Man, these issues are frustrating, but tackling them patiently, bit by bit, almost always gets you there.
Seriously, you’re crushing it just by putting in this much effort to understand and fix things.
Conclusion: Back Online and Ready to Go!
Whew! We’ve really gone over a ton, from basic checks to diving deep into drivers and network settings. I’m truly hoping these steps got your USB-C hub Ethernet on Windows 11 fixed, and your wired internet’s back. Honestly, tech’s a headache after updates, but there’s almost always a solution.
First, check the simple things, then systematically go through drivers and settings. What was the solution in your case? Share your experience in the comments below, perhaps your story might help someone else who’s having the same headache. And if you found this guide useful, be sure to share with a friend who is struggling with their tech issues!
Read more guides like this:
- The VLAN Headache: When Home Assistant Local Tuya Just Won’t Play Nice
- Solving Mini-PC Power Management Glitches: Sleep Mode & Fan Control Fixes
- M-Series MacBook DisplayLink Dual Monitor Fix