Okay, let’s have a real chat for a second. You know that crazy high you get when you land a new freelance client? Oh, the excitement is next level! But then… that little voice in the corner of your mind says, “Oh right, now the paperwork starts.”
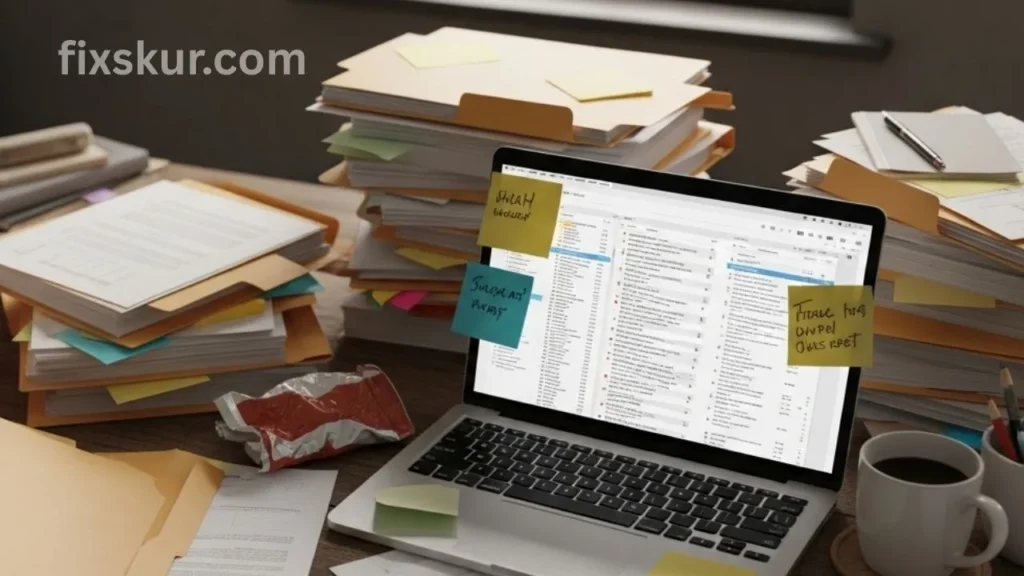
Suddenly, those endless email chains, struggling to find contracts in folders, and then creating yet another invoice manually comes to mind. It just ruins the mood, feels like I just want to crawl back under the blanket.
Trust me, I have been through exactly the same. I am Faizan Ali, and when I started, my client onboarding process was a complete mess. To be honest, it was a disaster — piles of emails, a jungle of sticky notes and nothing but stress.
I was spending more energy on setup than on the actual creative work. That’s when I found a lifesaver: automating freelance client onboarding.
And believe me, this isn’t rocket science or anything super technical. You just think of it like this…As if you are setting a VIP welcome for your clients, which runs on its own. Meaning, giving your clients that “wow” feeling right from the first day, without you having to do all the heavy lifting.
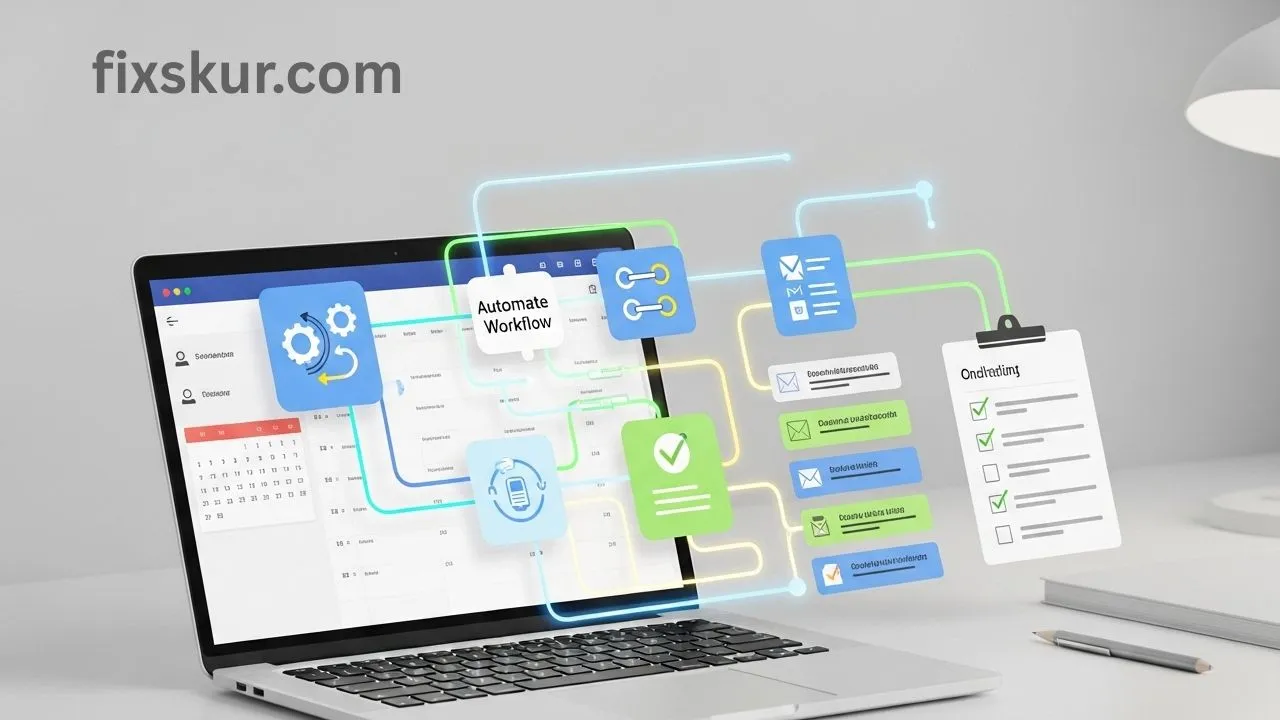
Why Bother Automating? Here’s the Real Deal
Automation is not a fancy trick, it gives you back your sanity and presents you as a pro right from the start.
Here’s why automating your freelance client onboarding is a game-changer:
- Saves Time: Automation takes care of the boring and repetitive admin tasks, allowing you to focus on the actual creative work—the very reason clients hired you.
- Impresses Clients: When the welcome process is smooth and professional, clients immediately feel confident that they have hired the right person. This is the fastest way to build trust.
- Eliminates Errors: The automated system works like a perfect checklist. It ensures that contracts are signed and all info is collected—every time, without fail—so you don’t have the stress of missing any step.
My Journey from Onboarding Chaos to Automated Bliss
Honestly, my old process was downright embarrassing. Usually, I had to search for a proposal template in a random folder, manually change the client’s name, save the PDF, and send an email. Then wait, follow up, and then send a separate contract. In short, it was completely clunky and unprofessional.
The turning point came when I lost a high-value client, simply because my onboarding was slow and confusing. That’s when I realized that I had to change.
I started small, first by using a scheduling tool to eliminate the email ping-pong for meetings. Then I explored tools for digital contracts and invoicing. Bit by bit, I built a seamless workflow that runs on its own.
Now, a new client officially comes onboard—the contract signed, invoice paid, and welcome packet received—without me having to lift a finger. Seriously, it has proven to be a game-changer.
A Step-by-Step Guide to Automating Your Client Onboarding
Are you ready to build your automation machine? This is a simple step-by-step guide that will help you get started. Don’t stress, you don’t have to do everything at once!
Step 1: Map Out Your Current Process
Before starting with automation, you should know what work you are doing. Take a notebook or whiteboard and list every step that you follow when a client agrees to start work, until the project officially kicks off. Be detailed!
Your list could look something like this:
- Sending a “Great to have you!” email
- Creating and sending a proposal
- Customizing and sending a contract
- Waiting for a signature
- Creating and sending an initial invoice
- Waiting for payment
- Sending a welcome packet with the next steps
- Manually creating a project folder in Google Drive
- Setting up a project in a project management tool
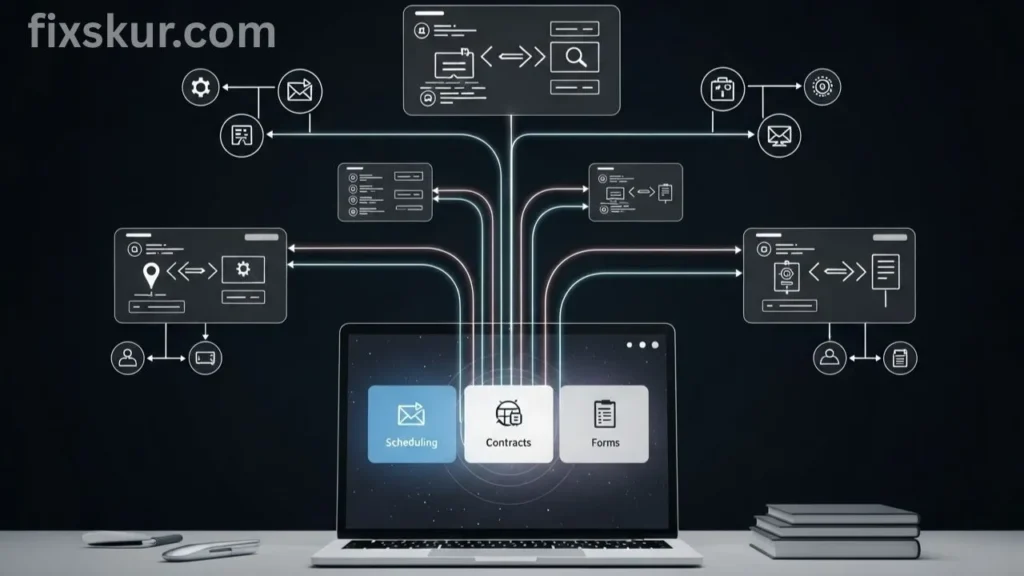
Step 2: Choose Your Automation Tools
You don’t need dozens of expensive tools. Start with 1-2 tools that solve your biggest headaches. Many tools offer free plans for beginners.
Here are some great options:
- Scheduling: You can book client calls using Calendly or Doodle based on your availability, ending the endless back-and-forth emails!
- Forms: Create intake forms using Google Forms, Typeform, or Tally which collect all the necessary project information upfront.
- Contracts & Invoices: Use all-in-one freelance platforms like Bonsai or HoneyBook. These combine proposals, contracts with e-signatures, and invoicing into one smooth workflow.
- Connecting Tools: Zapier or Make apps act as a bridge between apps (like automatically creating a new folder in Google Drive the moment a client signs a contract).
Step 3: Create Your Onboarding Templates

This is the step where the magic begins. Create templates for everything you regularly send to clients.
- Email Templates: Standard welcome email, payment reminders.
- Welcome Packet: Think of this as a friendly guide for your client to work with. Create a simple, good-looking document (PDF or Notion page is perfect!) that answers all their questions upfront, without them having to ask. Include things like how you will communicate, rough project timeline, and links to shared folders or tools. This makes you look professional and saves a lot of emails.
- Your Project Questionnaire: This is your secret weapon! Create a simple form that extracts all the important project details from the client’s mind and brings them to an organized place. A good questionnaire means you can instantly start fun, creative work, without endless back-and-forth.
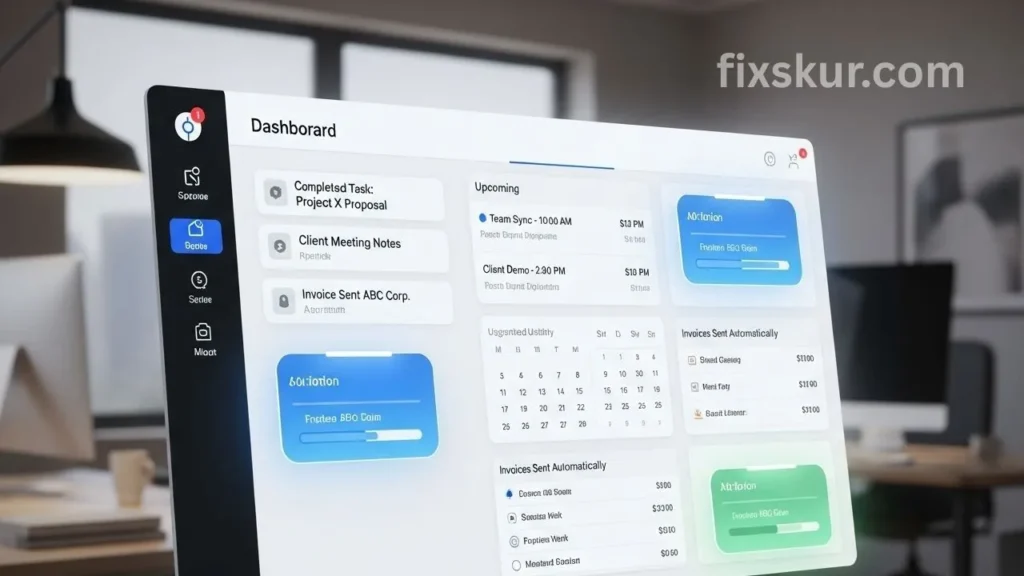
Step 4: Let’s Connect the Dots and Make It Flow
This is the step where the magic happens. You will set your tools to work together, creating a smooth, hands-off process for you and your client.
Imagine your new client is experiencing this:
- They fill out your contact form.
- They instantly receive an email in their inbox with a link to book a call in your calendar. Ends the email ping-pong!
- After the discovery call, you send a proposal and contract.
- As soon as they digitally sign, the system automatically sends the first invoice. No awkward “please pay me” emails.
- And as soon as payment is made, boom – a welcome email lands in their inbox, complete with a Welcome Packet and a project questionnaire.
Step 5: Test, Tweak, and Launch
Before going live, try the entire process yourself. Pretend that you are a new client. Click on every link, fill in every form. Do it. You will catch broken links or awkward phrasing with this. When you are satisfied, you will be ready for the launch!
Tips to Keep Your Automated Onboarding Human
Automation is indeed powerful, but it’s not foolproof. Here are a few things to keep in mind:
- Don’t Lose the Human Touch: Even if automation handles logistics, it can’t replace genuine connections. Always add a personal touch. For instance, after sending an automated welcome email, send a short personal video message expressing your excitement to work with them. This little effort creates a significant impact on clients.
- Don’t Overcomplicate Things from the Start: It’s easy to overcomplicate things and start building a complex multi-app system. Start simple. First, automate one or two of the most painful tasks. Later, when you feel comfortable, you can add more complexity.
Your Path to a Stress-Free Freelance Business
Automating freelance client onboarding is one of the best moves for your business and mental health. It transforms a chaotic, time-consuming task into a smooth process. That impresses the clients and gives you the time to do your best creative work.
Start small, keep patience, and remember that the goal is progress, not perfection. You can do it!
Your Next Step
Alright, this is your mission for this week: Identify the most annoying part of your onboarding process and automate it.
- Having trouble scheduling calls? Use Calendly.
- Do you need to rewrite the initial email over and over again? Make a template.
Just this small step will get your journey started, and trust me, you will be very pleased that you did this.
Read More Blog Posts Below:
- How to Use Your Smartphone as a Powerful Automation Hub
- The “Automated Personal CRM” Digital Shortcut
- Unlock Your Superpower: Master Your Smart Multi-Monitor Workflow