Hey friends, how are you! This is Faizan Ali speaking, and if you’re reading this, perhaps you too received that irritating message – “Initialization Failed” – in AMD Ryzen Master, after updating BIOS. Believe me, I felt the same way. It’s like giving the PC a new powerful brain and then your favorite tool starts acting up. You know that feeling of a slight knot in your stomach? Been there, done that!
But seriously, don’t fret! You’re not alone, and crucially – this isn’t a big headache. We’ll walk through it, step by step, to get Ryzen Master humming again. Our aim’s simple: conquer that “Initialization Failed” snag so you can happily monitor and tweak your AMD Ryzen processor.
Understanding the “Initialization Failed” Error
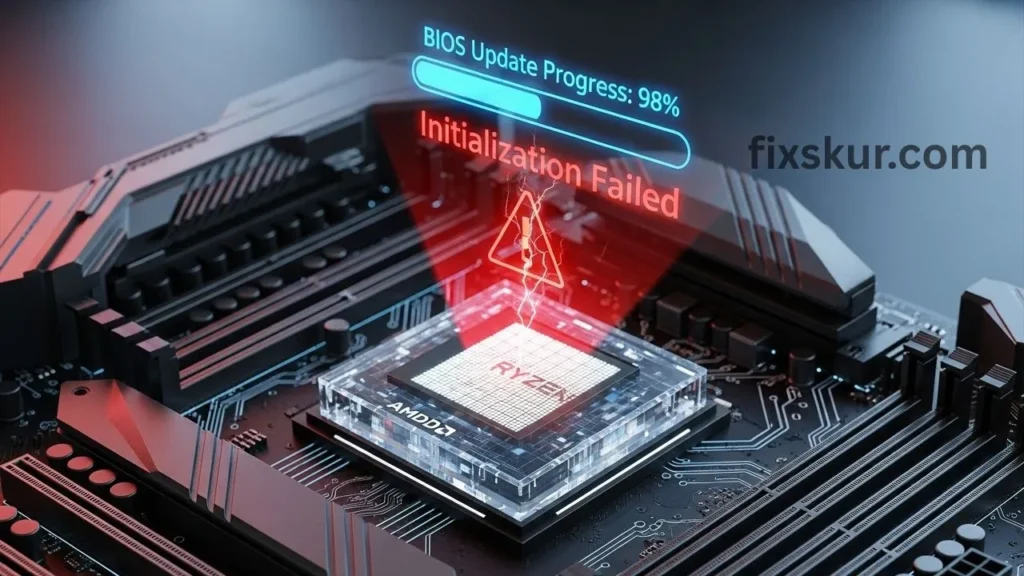
Dude, everyone knows the famous “Initialization Failed” error scenario. Think of it like this: you heard about a new BIOS update for your motherboard. Perhaps, it might provide better performance, more stability, or even support a new shiny CPU. Naturally, you followed the process – flashed the BIOS, hit reboot, and felt proud of yourself.
Then you open Ryzen Master to check and… BAM! “Initialization Failed. Kindly reinstall the program.” Or sometimes, the “Ryzen Master Driver Not Installed Properly” error occurs. The level of frustration increases because you did a good task for the system, and now an essential software is throwing tantrums.
Why Does This Happen? The Story of BIOS Update
A BIOS update basically changes how the motherboard communicates with hardware, including your AMD Ryzen CPU. Ryzen Master is a powerful tool that directly interacts with the CPU’s core functions (like overclocking and voltage control). It requires specific drivers and system config.
They are needed. As soon as BIOS changes, the flow of communication gets disturbed. Think of it as if a translator learned a new language and forgot the old one – results in temporary confusion!
Common Reasons
- Driver Mismatch: The old Ryzen Master drivers are not compatible with the new BIOS.
- Conflicting Settings: New BIOS defaults (like virtualization or security features) can just outright clash with Ryzen Master sometimes.
- Corrupted Installation: A messy update or uninstall can, unfortunately, leave behind some nagging, corrupted files or registry entries.
- Windows Security Features: Heck, even Windows’ own safeguards, like Core Isolation (Memory Integrity), can accidentally put the brakes on Ryzen Master’s drivers.
Good news? Most of these issues get fixed! Let’s now step by step solve Ryzen Master Initialization Failed error permanently.
First and Foremost: Don’t Panic at All!
There’s no need to reinstall Windows or make random clicks. This is a common issue that many people face and solutions do get figured out. Your PC is safe, you just need to get Ryzen Master back to its relaxed mode.
Important note: Make sure to restart your PC after trying every solution. This helps the changes to apply properly.
Step-by-Step Guide to Fix Ryzen Master Initialization Failed
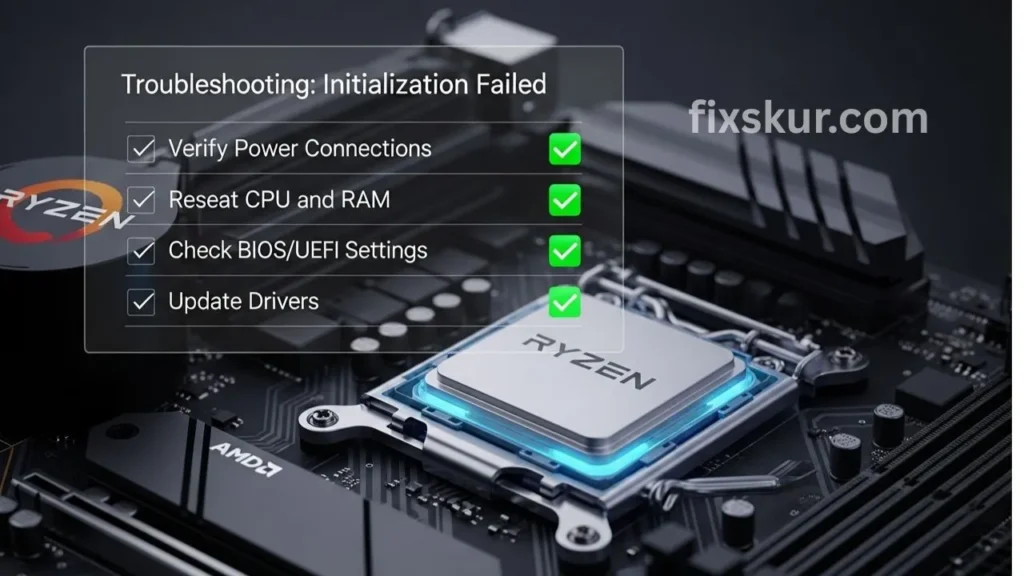
Here’s a structured approach to troubleshoot and resolve the “Initialization Failed” error. Start from the top and work your way down.
Solution 1: Reinstall Ryzen Master (Classic Fix)
Okay, this is usually the quickest fix, and frankly, Ryzen Master often hints at it. A fresh reinstall sweeps away old, clashing files, dropping in the latest compatible version.
- Head to Windows Settings, “Apps & Features” (or “Add/remove programs” on Win 10).
- Find “AMD Ryzen Master,” click, and hit “Uninstall.”
- Follow the on-screen steps to complete the uninstall.
Pro tip (based on my experience): Don’t ever go into the registry to remove old RThe driver entries of Ryzen Master are left over, such as AMDRyzenMasterDriverVXX. If you are comfortable using the Registry Editor and have taken a backup, you can delete them. It’s risky, so only do so when you’re sure.
- Restart your PC.
- Download the latest Ryzen Master from the official AMD website. Do not use an old installer.
- Run the installer as an administrator to install.
- Restart again.
If you are still facing the “Initialization Failed” issue, try the next solution.
Solution 2: Clear CMOS (Digital Brain Reset)
Okay, this one’s a tad advanced, but it’s a potent fix. Clearing CMOS wipes your BIOS to defaults, often squashing conflicts.
- First, power down your PC, unplug, hold the power button for 10-15 seconds.
Two ways to clear CMOS:
- Jumper Method: Find the ‘Clear CMOS’ jumper (check your manual!), then short both pins with a screwdriver for 5-10 seconds.
- Battery Removal Method: If there’s no jumper..Remove the small, circular CMOS battery (CR2032) from the motherboard, wait for 5-10 minutes, then reinsert it.
- Power on the PC again. The system may need to boot twice. Go into the BIOS and save the defaults, then exit.
- Optional: Afterward, re-enable the XMP/DOCP for your RAM and your custom settings.
Open Ryzen Master to check.
Solution 3: Update Chipset Drivers (Hidden Hero)
- Chipset drivers are vital for your CPU and motherboard to properly communicate with Windows. If they’re outdated after a BIOS update, Ryzen Master might error out.
- So, head to the official AMD website.
- Choose ‘Chipsets,’ your CPU socket (AM4, AM5), and chipset (B550, X570, etc.).
- Grab the correct Windows version.
- Download and install the newest chipset driver package. Restart, then check Ryzen Master.
Restart and check Ryzen Master.
Solution 4: Re-Flash the BIOS (Last Resort)
Sometimes a BIOS update does not complete correctly or a new stable version is available.
- Go to your motherboard brand’s (ASUS, MSI, Gigabyte, ASRock) website.
- Download the latest BIOS (or re-flash the same version).
- Follow the manufacturer’s proper steps, don’t take shortcuts.
- Restart after flashing the BIOS.
Solution 5: Check for Conflicting Software (Hidden Culprits)
Some other software or Windows security features conflict with Ryzen Master.
Disable Memory Integrity (Core Isolation)
- Go to Windows Security → Device security → Core isolation details.
- Turn off “Memory integrity”.
- Restart the PC.
- Note: You can turn this back on, but then Ryzen Master may not work.
Temporarily disable your antivirus software: Some antiviruses are known to block Ryzen Master. Try to launch Ryzen Master after disabling the antivirus, and remember to re-enable it afterwards.
Try a Clean Boot
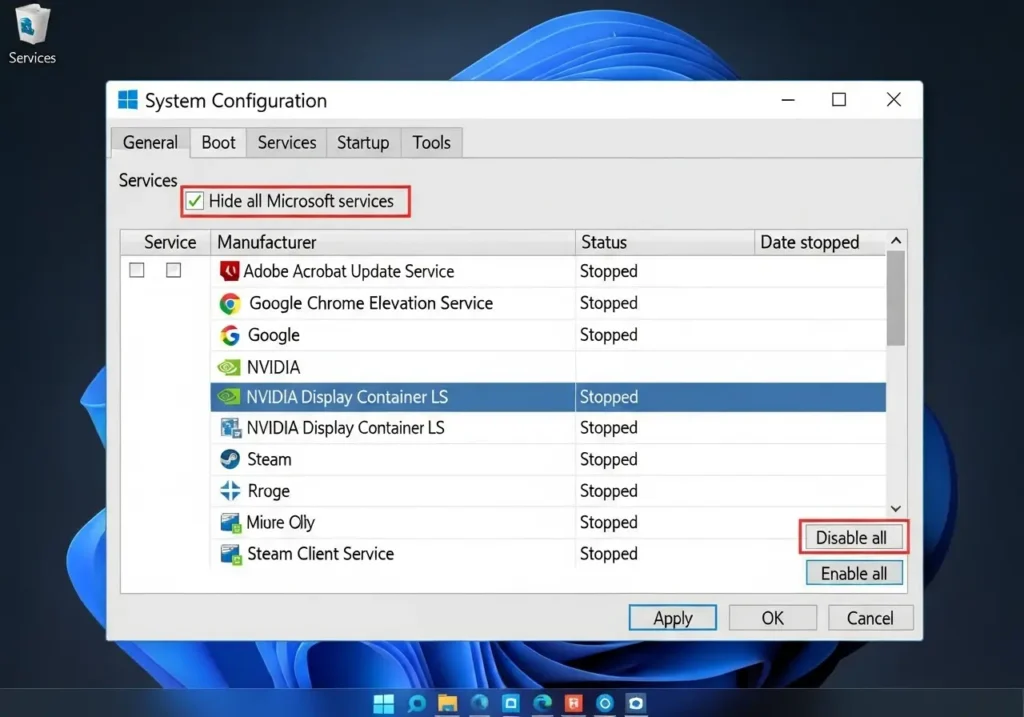
- Enter “msconfig” in the Run box → open System Configuration.
- In the “Services” tab, select “Hide all Microsoft services” and then click on “Disable all”.
- Open Task Manager in the startup tab.Disable all startup items.
- Restart and check Ryzen Master.
- If it works, then enable the services one by one and find the culprit.
I have seen that Gigabyte’s EasyTune software conflicts with Ryzen Master. If you have such motherboard utilities installed, temporarily uninstall them and check.
My Personal Experience
I still remember that day. It was a lazy Saturday and I thought let’s update my B450 motherboard’s BIOS for Zen 2 support. Everything seemed smooth… or at least I thought so. As soon as I opened Ryzen Master, that infamous message appeared: “Initialization Failed.” My heart sank. I fine-tune my streaming setup primarily on Ryzen Master, and suddenly it felt as if I was blindfolded.
Firstly, I tried the obvious thing – a clean reinstall. But it was of no use. Then I opened Google and plunged into the jungle of forum posts. It turned out I wasn’t alone, many people were facing the same headache. I also tried resetting the CMOS, I was a bit scared since I was doing this after years, but this time my issue didn’t get resolved.
What finally worked was updating the chipset drivers. I thought it was a small thing, but I downloaded fresh from AMD’s website and installed it and Ryzen Master started working like magic. A huge”Relief was gained. And it also served as a reminder that a dramatic step is not always the solution, sometimes, it’s just a basic thing that we tend to ignore. That’s why I always say: follow the steps systematically – you never know which step might be the key for you.
Tips to Avoid These Errors in the Future
Keep these things in mind in the future to avoid these errors:
- Don’t Forget to Take a Backup: Always backup your important data before a BIOS update.
- Read the Release Notes: Check the release notes of the new BIOS and Ryzen Master version. Compatibility info is mentioned there.
- Pay Attention to the Driver Order: If you have installed a fresh version of Windows or a significant update is out, install AMD chipset drivers before installing Ryzen Master.
Final Thoughts: You’ve Got This!
PC issues can be frustrating, it feels like the system has turned against you. But don’t worry – you can tackle it easily. If you proceed calmly and step by step, there’s a strong chance that the Ryzen Master Initialization Failed error will get fixed quickly.”Ensure our system gets back to its top performance.
If you’re stuck somewhere, don’t hesitate to ask for help on forums. Always double-check your motherboard manual, particularly for things like clearing CMOS or flashing the BIOS. Once Ryzen Master’s finally playing ball, make sure to poke around a bit! Keep an eye on CPU temps, check clock speeds, and if you’re game, try experimenting with PBO (Precision Boost Overdrive). You’ll absolutely love having that kind of command over your AMD Ryzen chip!
Explore my other posts:
- Your Guide to Plex Transcoding Synology DS220+ Fixes
- USB-C Hub Ethernet Not Working on Windows 11
- The VLAN Headache: When Home Assistant Local Tuya Just Won’t Play Nice